Thursday, July 2, 2015

Sourdough Chronicles: The First Bake(s)

Hello fork musketeers!

I've promised you to tell you about the very first time I baked with George. I'm still fiddling and feeding George regularly and ever on my quest to get the most sour of sourdoughs!

The First Bake

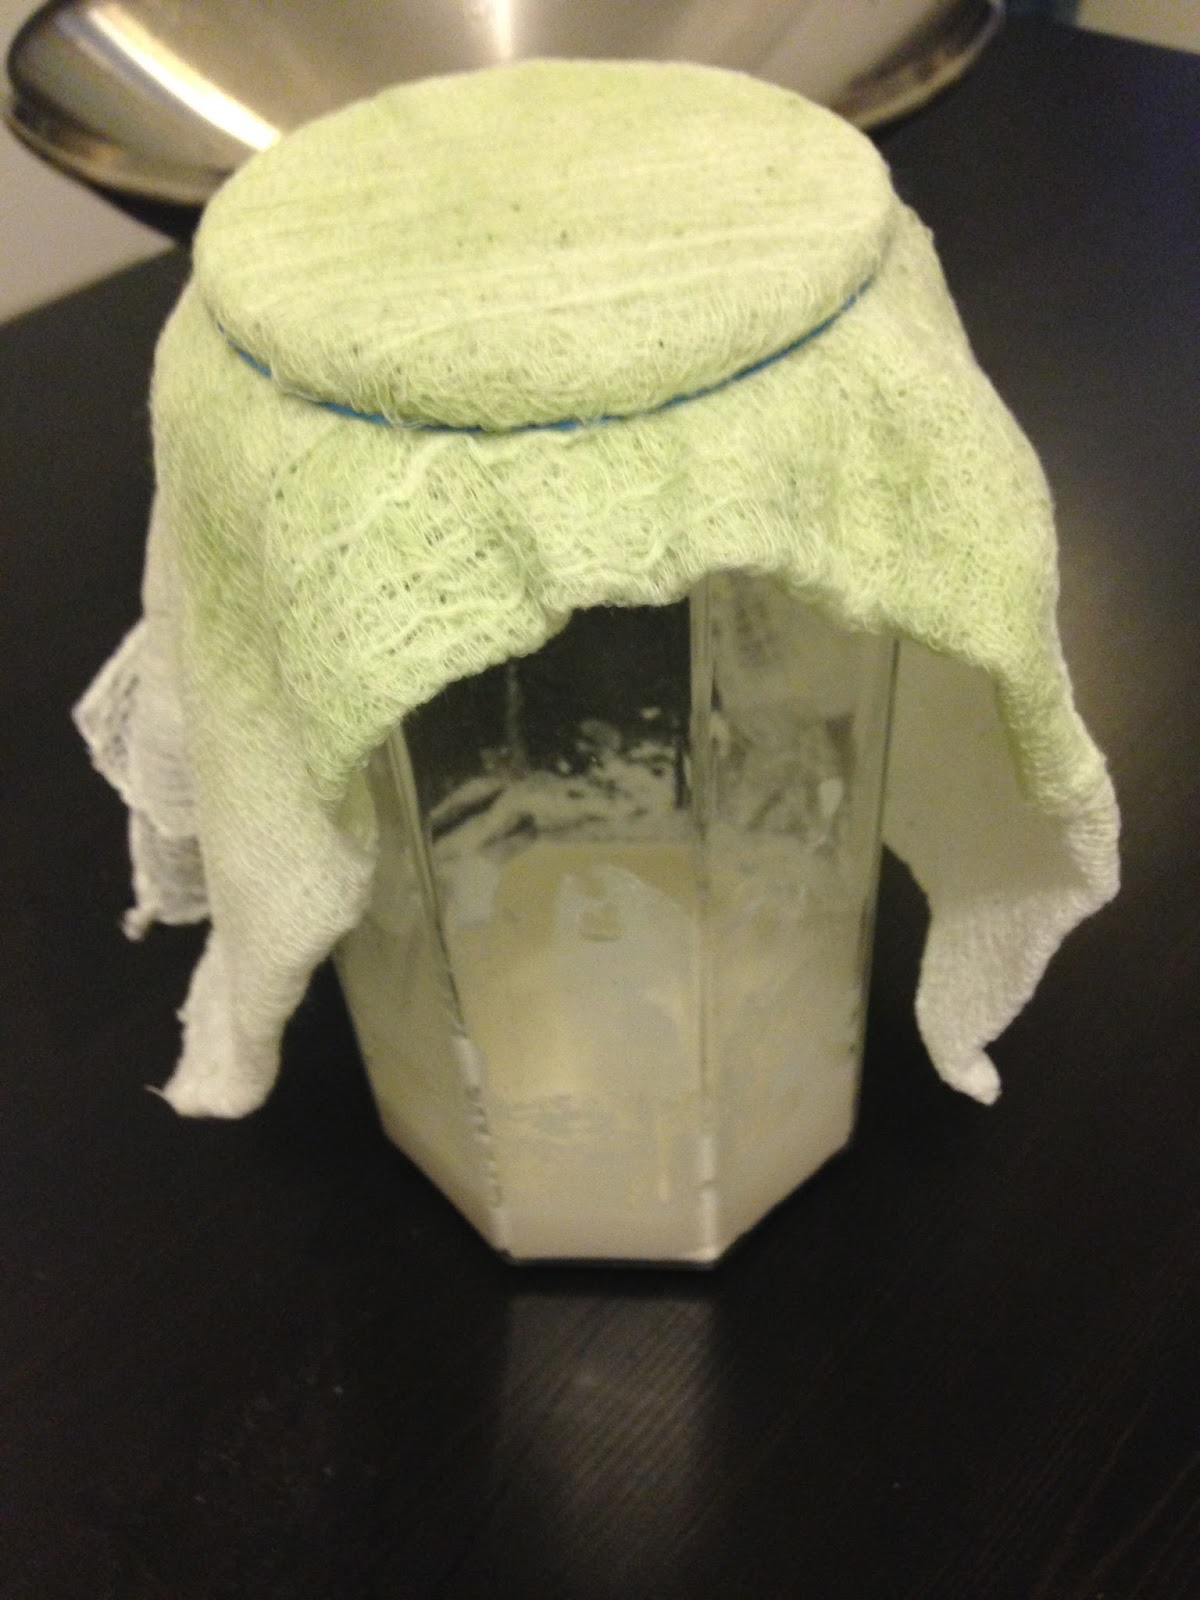
It was pretty exciting to finally use George. I'm kind of glad only two of us used it; even though I had about 2L of starter, we collectively use about 700g. So we cut the starter a little under half. I'm ok with that; I wasn't sure what I'd be doing with all of that starter!

So here's the first loaves I made.


... And here is the second attempt.


Both had a good texture; the second had a nicer crust. However they're still not sour enough! Just.... barely. I did try slightly different things with them.

The first attempt

The very, very attempt at sourdough. Neither of us had ever made it, so we just winged it. We made the recipe based on the idea that a preferment should replace a quarter to half of your flour. I also looked up a few basic sourdough recipes to get the general gist; then we went from there. We just used all-purpose flour to try it out.

The most interesting thing that happened was my using a loaf pan and her rolling it into a ball. Check it out:


The good news is they rose (hurray!). We put some additional water in the oven for better crusts. Despite using the same method, they are the exact same recipe that looks like two completely different breads. Strangely enough, mine was also very slightly more tangy. I think it's because I left mine covered under the heat of the sun. Maybe. I'm not sure.

Anyway, the first attempt was a WIP. I knew my starter was strong enough to make bread rise but the flavour wasn't there. Does this mean the flavour hasn't developed enough? I'll just have to keep feeding and trying.

The second attempt

Since I was unsatisfied with the results of the first, this time I thought I'd try something a little different. I've read that a longer rise time would yield a more sour sourdough so I let mine sit for 5 hours. My classmate used all-purpose as well as another flour. She made her's after 3 hours.

I also fudged my dough a little and made it a little too wet. Maybe combined with a wetter dough and the long fermentation time it didn't rise that much. It did, however, have a fairly nice crumb.

In retrospect it looks more like ciabatta. Hmm!
As I mentioned before, it wasn't very sour; whereas my classmate's bread was noticeably more sour. So perhaps, for whatever reason, adding a different kind of flour - so probably whole wheat and/or rye - can help it be more sour. I made some sourdough pancakes a few days ago and I added some whole wheat to try my theory out. It was totally more sour.

Also very delicious with overripe bananas.
I'm still going to experiment and keep trying out different things to get the most sour out of sourdough. I have a few ideas in mind... 

In addition to these, I decided to try making roti canai with George.


Roti canai or roti prata is a south-eastern flat bread. I've had this a few times when I went to Malaysia. It's always served with some curry as a dipping sauce. My classmate and I made a roti canai recipe with condensed milk; she omitted a preferment while I put some in.

The results? Her's came out a bit sweeter and more flat. Mine was not as sweet but it was fluffier; probably because of the yeast.

I'll be doing more experiments with George. I have a few ideas on my mind...

Tuesday, June 23, 2015

Sourdough Chronicles: The journey

Hello fork musketeers!

I thought I'd give everyone an update on George. It's been a lot of fun; a lot of research and a lot of troubleshooting.

The curious case of
not very curious George.

The struggle

George has been a confusing experiment. While there was definitively signs of life and activity, George never rose or only very slightly - 125%.

Signs of life!
The rule of thumb for starters is that it should double or even triple (!!) in volume. The idea is if a starter can't double itself, it can't double your bread. Such a far off dream for George (sorry George). So I thought perhaps there wasn't enough yeast to actually finish all the food I was giving it. I skipped a feeding and found this...

Look at dat liquid
The liquid you see there is called hooch. Since yeast poops out gas and alcohol, sourdough starter has alcohol in it. Don't bother drinking it; it's really bad booze. In any case, the presence of hooch means that the starter is hungry! Clearly there was yeast in the starter, otherwise there wouldn't be any hooch. So what the hell, George?

I did more research and found a common problem for sluggish yeast is temperature. This month has been relatively cool for June and sluggish yeast means it isn't warm enough for them. I put George in the oven with the light on and I plan to get a seedling mat for him.

And suddenly, after a few feedings, George sprang to life.

Yes; I moved George
into a bigger container.
The top black mark is where George was before. About 4 hours after feeding him, he didn't just rise - he tripled in volume. (I was so proud and I never doubted you, George) Now that it's been getting warmer, George would always have a crust on top when I left him in the lit oven. Starters are pretty resilient, so I wasn't worried; the crust meant it was a little too warm in there. Now he sits quite contently on the counter.

After each feeding, he peaks between 200 - 250% at the 6 hour mark then falls to about 120% at the 8 hour mark. Every. Single. Time. I'm now a proud owner of a healthy, bouncing sourdough starter.

I've read that the rule of thumb for feeding a starter is to always double the amount; so if you have 1kg of starter you need to give it 1kg of flour and 1kg of water (100% hydration). However I haven't been doubling; I'm kind of cheating by using cups but I generally feed George 1 - 1.5 cups of flour with equal part water. I tried doubling the amount as well. In both cases, George always rose by 200-250% and hasn't developed a hooch layer. I guess what I'm doing is working so far.

I don't want to have this post be too long, so I'll write up another post about the first bake with George. Oooo! If you have any comments, don't be shy. I always appreciate feedback or maybe some questions you guys may have!

Until next time, fork musketeers.

Friday, June 19, 2015

Bread deep dive: The anatomy of bread and bread making

Hello fork musketeers!

This is part 1 of the Bread deep dive I promised earlier. If you want to skip around, here's the table of contents:
  1. Basic anatomy of bread and bread making
  2. Fermentation/Proofing
  3. Fat vs. fat-free doughs
  4. Designs on breads
So without further ado...

What's in bread?
Bread is everywhere. It's the first thing that welcomes you to a nice restaurant after you've been seated; it's the vehicle to the pate you've been thinking about all day or it could just be a really good sandwich with the right bread.

As I mentioned before, bread making is more of an art than a science. This is because you're working with so few ingredients: flour; water; yeast and sometimes salt. While this makes it look easy, it's actually easier to mess it up because it's so simple. You know, the thing that's easy to learn but hard to master.

Bread is basically gluten. Gluten is a protein that is made up of two components: gliadins and glutelins. These proteins are mainly found in grains such as wheat, rye and barley and gives structure to the bread as well as elasticity. Gluten is literally the protein that gives the bread structure.


You can develop gluten in a few ways. The standard way is to knead it. There are lots of ways to knead and you can definitively find one method that you like the most. I prefer to grab the front "edge"; fold it back on itself; rotate 90˚; push forward with the heel of my palm. By kneading the dough you're developing the gluten thus making the structure of your bread more sound. If you have a wetter dough, like ciabatta, you can do the stretch and fold method. I haven't tried it myself but it looks promising.


Now the next ingredient is yeast. Yeast is a bacteria that naturally occurs in nature, including flour and fermentation. If you were trying to make a sourdough starter, you're trying to cultivate "wild yeast" or the yeast naturally found in flour. Commercial yeast is a specific strain of yeast that is particularly effective at fermenting your bread as well as making it rise. If you look closely at breads, you'll see a variety of bubbles within the bread structure.


These bubbles are caused by yeast releasing alcohol and gases. Yeast is used to leaven, or rise, breads because it also adds flavour to the bread. This combination of flavour and ability to rise the bread is something you can't get with baking powder or baking soda alone. Before you get wigged out by bacteria in your bread, you can rest assured that yeast and any other bacteria dies off while it's being baked. Actually, as the internal temperature of your bread rises, the yeast becomes more active and releases more gas until it finally dies off. This is why your bread also rises in the oven.

In a weird, philosophical way, by making bread you are playing with life. You're handling, observing and taking special care of something that is alive and needs your attention to be the best it can be. Kind of like a baby, minus the ear-piercing shrills adorable cuteness. The dough is usually pretty darn soft though. #HolyShitPlushGauge™


Bread making tips

So if you found a baker's bread recipe, you might have read something like this:
  1. Flour 100%
  2. Water 70%
  3. Yeast 1.5%
  4. Salt 1.5%
The first thing you're thinking is probably: what on earth did I just read? Percentages are about adding up to 100%! This adds up to 173%! What gives, man? Is this some secret bread making language I have to decode before I can make cool breads? Darn it!

Well, the reality is fortunately more simple. It's a slight quirk in bread recipes that allows you to easily scale your recipe. So let's say you wanted to use 500g of flour, well it's going to look like this:
  1. Flour: 500g (100%)
  2. Water: 350g (70% of 500)
  3. Salt: 7.5g (1.5% of 500)
  4. Yeast: 7.5g (1.5% of 500)
If you've checked out some bread videos, some people would suggest to reserve some flour to adjust the consistency of your dough. This is actually not a great idea since your recipe is based on the amount of flour you've used. So, as a rule of thumb, you should be reserving the liquid portion of your recipe (water and/or milk). As much as we'd like to think all the all-purpose flours at IGA are the same, in reality they aren't. Some flours are drier than others or act differently. Of course don't beat yourself up if you tossed in all your water and your dough is too wet. At that point there's not much you can do aside from putting in more flour.

Chef told me that when you're making artisanal breads, it's always better to be on the wet side (so 60/65% to 80%). When bread is made commercially, the dough tends to be on the drier side since it's hard to work with sticky dough. Generally speaking though, bread-making formula follows these steps:

  1. Mix all ingredients except fats until just combined
  2. Add fats (oil/butter) last and knead.
  3. When the dough is ready, set aside in a bowl and let it proof until doubled in volume.
  4. Punch down risen dough and shape.
  5. Proof again until doubled in volume.
  6. Bake/cook/fry/whatever.
If you have a fancier recipe, the steps will look like this:
  1. Make a pre-ferment a day ahead.
  2. Mix all ingredients (plus pre-ferment) except fats until just combined
  3. Add fats (oil/butter) last and knead.
  4. When the dough is ready, set aside in a bowl and let it proof until doubled in volume.
  5. Punch down risen dough and shape. If you want some cool stuff in the middle, now's the time to add it.
  6. Proof again until doubled in volume.
  7. Cut a pattern on the top.
  8. Bake/cook/fry/whatever.
If you can grasp this formula, you now know the method for 99% bread recipes. It's only a matter of the amounts and ingredients to make it. I know it sounds really easy to do but the complicated part comes from actually handling the thing that's alive: your dough. Depending on the temperature, a recipe that says "3 hours to rise" may actually take 5; you can also add less yeast since it'll be warmer; if your work place is humid, you can hold back on the water, etc etc etc.

I'm sure you can see why making bread is more of an art than a science. The most important thing is to know how your flour acts and to take your work environment into consideration. It sounds really wishy-washy but as you work with dough, you'll learn how to handle it and what to expect.