Tuesday, June 23, 2015

Sourdough Chronicles: The journey

Hello fork musketeers!

I thought I'd give everyone an update on George. It's been a lot of fun; a lot of research and a lot of troubleshooting.

The curious case of
not very curious George.

The struggle

George has been a confusing experiment. While there was definitively signs of life and activity, George never rose or only very slightly - 125%.

Signs of life!
The rule of thumb for starters is that it should double or even triple (!!) in volume. The idea is if a starter can't double itself, it can't double your bread. Such a far off dream for George (sorry George). So I thought perhaps there wasn't enough yeast to actually finish all the food I was giving it. I skipped a feeding and found this...

Look at dat liquid
The liquid you see there is called hooch. Since yeast poops out gas and alcohol, sourdough starter has alcohol in it. Don't bother drinking it; it's really bad booze. In any case, the presence of hooch means that the starter is hungry! Clearly there was yeast in the starter, otherwise there wouldn't be any hooch. So what the hell, George?

I did more research and found a common problem for sluggish yeast is temperature. This month has been relatively cool for June and sluggish yeast means it isn't warm enough for them. I put George in the oven with the light on and I plan to get a seedling mat for him.

And suddenly, after a few feedings, George sprang to life.

Yes; I moved George
into a bigger container.
The top black mark is where George was before. About 4 hours after feeding him, he didn't just rise - he tripled in volume. (I was so proud and I never doubted you, George) Now that it's been getting warmer, George would always have a crust on top when I left him in the lit oven. Starters are pretty resilient, so I wasn't worried; the crust meant it was a little too warm in there. Now he sits quite contently on the counter.

After each feeding, he peaks between 200 - 250% at the 6 hour mark then falls to about 120% at the 8 hour mark. Every. Single. Time. I'm now a proud owner of a healthy, bouncing sourdough starter.

I've read that the rule of thumb for feeding a starter is to always double the amount; so if you have 1kg of starter you need to give it 1kg of flour and 1kg of water (100% hydration). However I haven't been doubling; I'm kind of cheating by using cups but I generally feed George 1 - 1.5 cups of flour with equal part water. I tried doubling the amount as well. In both cases, George always rose by 200-250% and hasn't developed a hooch layer. I guess what I'm doing is working so far.

I don't want to have this post be too long, so I'll write up another post about the first bake with George. Oooo! If you have any comments, don't be shy. I always appreciate feedback or maybe some questions you guys may have!

Until next time, fork musketeers.

Friday, June 19, 2015

Bread deep dive: The anatomy of bread and bread making

Hello fork musketeers!

This is part 1 of the Bread deep dive I promised earlier. If you want to skip around, here's the table of contents:
  1. Basic anatomy of bread and bread making
  2. Fermentation/Proofing
  3. Fat vs. fat-free doughs
  4. Designs on breads
So without further ado...

What's in bread?
Bread is everywhere. It's the first thing that welcomes you to a nice restaurant after you've been seated; it's the vehicle to the pate you've been thinking about all day or it could just be a really good sandwich with the right bread.

As I mentioned before, bread making is more of an art than a science. This is because you're working with so few ingredients: flour; water; yeast and sometimes salt. While this makes it look easy, it's actually easier to mess it up because it's so simple. You know, the thing that's easy to learn but hard to master.

Bread is basically gluten. Gluten is a protein that is made up of two components: gliadins and glutelins. These proteins are mainly found in grains such as wheat, rye and barley and gives structure to the bread as well as elasticity. Gluten is literally the protein that gives the bread structure.


You can develop gluten in a few ways. The standard way is to knead it. There are lots of ways to knead and you can definitively find one method that you like the most. I prefer to grab the front "edge"; fold it back on itself; rotate 90˚; push forward with the heel of my palm. By kneading the dough you're developing the gluten thus making the structure of your bread more sound. If you have a wetter dough, like ciabatta, you can do the stretch and fold method. I haven't tried it myself but it looks promising.


Now the next ingredient is yeast. Yeast is a bacteria that naturally occurs in nature, including flour and fermentation. If you were trying to make a sourdough starter, you're trying to cultivate "wild yeast" or the yeast naturally found in flour. Commercial yeast is a specific strain of yeast that is particularly effective at fermenting your bread as well as making it rise. If you look closely at breads, you'll see a variety of bubbles within the bread structure.


These bubbles are caused by yeast releasing alcohol and gases. Yeast is used to leaven, or rise, breads because it also adds flavour to the bread. This combination of flavour and ability to rise the bread is something you can't get with baking powder or baking soda alone. Before you get wigged out by bacteria in your bread, you can rest assured that yeast and any other bacteria dies off while it's being baked. Actually, as the internal temperature of your bread rises, the yeast becomes more active and releases more gas until it finally dies off. This is why your bread also rises in the oven.

In a weird, philosophical way, by making bread you are playing with life. You're handling, observing and taking special care of something that is alive and needs your attention to be the best it can be. Kind of like a baby, minus the ear-piercing shrills adorable cuteness. The dough is usually pretty darn soft though. #HolyShitPlushGauge™


Bread making tips

So if you found a baker's bread recipe, you might have read something like this:
  1. Flour 100%
  2. Water 70%
  3. Yeast 1.5%
  4. Salt 1.5%
The first thing you're thinking is probably: what on earth did I just read? Percentages are about adding up to 100%! This adds up to 173%! What gives, man? Is this some secret bread making language I have to decode before I can make cool breads? Darn it!

Well, the reality is fortunately more simple. It's a slight quirk in bread recipes that allows you to easily scale your recipe. So let's say you wanted to use 500g of flour, well it's going to look like this:
  1. Flour: 500g (100%)
  2. Water: 350g (70% of 500)
  3. Salt: 7.5g (1.5% of 500)
  4. Yeast: 7.5g (1.5% of 500)
If you've checked out some bread videos, some people would suggest to reserve some flour to adjust the consistency of your dough. This is actually not a great idea since your recipe is based on the amount of flour you've used. So, as a rule of thumb, you should be reserving the liquid portion of your recipe (water and/or milk). As much as we'd like to think all the all-purpose flours at IGA are the same, in reality they aren't. Some flours are drier than others or act differently. Of course don't beat yourself up if you tossed in all your water and your dough is too wet. At that point there's not much you can do aside from putting in more flour.

Chef told me that when you're making artisanal breads, it's always better to be on the wet side (so 60/65% to 80%). When bread is made commercially, the dough tends to be on the drier side since it's hard to work with sticky dough. Generally speaking though, bread-making formula follows these steps:

  1. Mix all ingredients except fats until just combined
  2. Add fats (oil/butter) last and knead.
  3. When the dough is ready, set aside in a bowl and let it proof until doubled in volume.
  4. Punch down risen dough and shape.
  5. Proof again until doubled in volume.
  6. Bake/cook/fry/whatever.
If you have a fancier recipe, the steps will look like this:
  1. Make a pre-ferment a day ahead.
  2. Mix all ingredients (plus pre-ferment) except fats until just combined
  3. Add fats (oil/butter) last and knead.
  4. When the dough is ready, set aside in a bowl and let it proof until doubled in volume.
  5. Punch down risen dough and shape. If you want some cool stuff in the middle, now's the time to add it.
  6. Proof again until doubled in volume.
  7. Cut a pattern on the top.
  8. Bake/cook/fry/whatever.
If you can grasp this formula, you now know the method for 99% bread recipes. It's only a matter of the amounts and ingredients to make it. I know it sounds really easy to do but the complicated part comes from actually handling the thing that's alive: your dough. Depending on the temperature, a recipe that says "3 hours to rise" may actually take 5; you can also add less yeast since it'll be warmer; if your work place is humid, you can hold back on the water, etc etc etc.

I'm sure you can see why making bread is more of an art than a science. The most important thing is to know how your flour acts and to take your work environment into consideration. It sounds really wishy-washy but as you work with dough, you'll learn how to handle it and what to expect.

Tuesday, June 16, 2015

Recipe tips: Damier (vanilla and chocolate checkerboard cookies)

Hello fork musketeers!

Today we'll be looking at damier. Or, if you played some SNES games, that square-pattern cookie from Yoshi's Cookie.

Apparently it has a name and now
I know it. Sweet.
But in all seriousness, here's the batch I made.


This actually a really simple recipe to make. All you need is some flour, a knife, maybe a ruler and a bit of technique.

Damier tips

So doing this cookie in the middle of bread month is slightly unusual. There's no yeast in it; instead it uses baking powder as a leavener. It's also made with the creaming method (cream butter and sugar together; add eggs; then flour) so it's more like a cake/biscuit. Given the copious amounts of bread we've been making, this was a nice change.

We made this using a "plain" batter and a chocolate batter. The chocolate batter we made was quite thick and a bit tough but you want this to be more on the "tougher" side. This is for shaping.

To shape
Shaping damier is pretty simple. The trick is your dough needs to be cold so it holds its shape.

On a floured surface roll out your plain dough first. Decide how thick you want them to be and whether you want a square or a rectangle shape. I find the square-shaped damiers better looking, so make sure to cut enough pieces for a 2x2, 3x3 or 4x4 cookie. 


Protip: If you used baking powder in your dough, super square pieces will puff up and your shape won't look as nice before going into the oven. Keep it a little rectangular. It's more important to choose a size and stick with it! If you omitted the baking powder you can make everything square

As you cut out these pieces, make sure they're as straight as possible before going into the fridge. They will hold its shape and you'll have a harder time putting them together if they're all wavy curly like. If you have a straight edge handy you can use it to straighten your pieces. When they're all cut, pop them into the fridge and wait for them to firm up.


Now for the fun part. Assembling them together! If you have some kids around, this would probably be the fun part to get them involved. I like to "pre-assemble" the cookie first to make sure I get the best fitting slices before committing. When you are ready to glue them together, wet your fingers and gently press them together. When you're done, put them back in the fridge.


Pre-assembly so I know which pieces
fit best with which.


You can just skip this step if you don't want to do it but I think they look nice with the chocolate/plain layers. If you choose to the outside layers, you'll need some leftover plain and chocolate dough. Just roll them out thinly and place your firm cookie log on top. Double check to make sure the dough is rolled out enough to wrap around your cookie log. Then commit by glueing your log onto your dough and cut off the excess. Gently wrap'n'roll, glueing the sides as you go and, when you get to the end, cut the extra dough off and... you guessed it, back into the fridge. Rinse and repeat for the second layer if you want.

Wet the next side and wrap!
Trim the last side so it all fits together.
When your cookies are firm, now's the time to cut. Cut them between 4-5mm and pop them in a 320˚F oven. They'll start to brown on the edges, so make sure to check and rotate them if you have to.


The reason why you want to cut them about 4-5mm is to prevent them from puffing too much. When the cookies are on the thinner side, the majority of the cookie is being directly cooked by the oven. This prevents the cookie from puffing too much. I only learned this after I baked them.

Protip: If you're having some trouble getting a flat cookie, let your cookies bake until there's a crust. Then put a layer of parchment paper and another tray on top to keep the surface flat.

Then tadaaaa! Cute little cookies!


I personally prefer the first layer to be the same colour as the "plus" squares. Otherwise the outer layer doesn't set a strong contrast from the squares.

How do you like to shape these cookies? Let me know in the comments below!


Thursday, June 11, 2015

Sourdough Chronicles: The Intrigue

Hello fork musketeers!

I've decided to try making my own sourdough starter.

I've never made sourdough and I'm not very fond of it. However, my sister is a big fan and we recently played around with fermented apple water. It made our baguettes taste like apples. Seriously.

The pink/red tones are from the apple skins.
Nice colour, no?
This has intrigued me since we made fermented apple water. I kept thinking of different ways to flavour a bread and thought the "off" taste of sourdough with a sweeter, fruity note would be a nice contrast.

I've done some research and it seems a bit more involved than other breads. So I've decided to keep track of my baby steps into the world of sourdough.

What's in a sourdough?

Sourdough's name gives you a hint at what it's about. As described by my sister, sourdough "tastes a little off... but in a good way." The reason why it tastes off is because of the starter/pre-ferment used in sourdough. In general, pre-ferment is a 1:1 ratio of water:flour plus yeast to get the fermentation process going.  Sourdough pre-ferment still follows the 1:1 formula, however you don't add yeast. Bacteria, including several strains of yeast, is everywhere and what you've just done is created an open house for the bacteria in your flour to grow. So you leave it outside, preferably in a warm place.


I'm still pretty new to this so I'm reading a lot of articles about making your own starter. So far it seems to follow a certain formula but some of the details are kind of hazy for me.

  1. Start with organic flour; whole wheat flour or rye flour. These flours have more micro-organisms that will help you in your bread adventures. If you don't, I started mine with all-purpose.
  2. Do a 1:1 ratio of flour and water and whisk well. Incorporating air will help the bacteria grow.
  3. Leave for 8-24 hours and "feed" it again. All this means is add more flour and water in equal amounts. So if you started with 1/4 cup of flour, add another 1/4 cup.
  4. Repeat step 2 over and over again until your starter is stable.
Mine showed activity within 24 hours. Depending on your conditions, there might only be signs between the 24-36 hour mark.

AAHHH IT'S ALIVE!!
It also smelled really fucking stinking awful. Did I mention stinking awful? Because it was really awful. I was worried I got my ratios wrong but I marched on and fed it again. It was simultaneously an exciting but disgusting moment.

I've read tutorials where parts of the starter is discarded. When you're first starting a sourdough starter, the bacteria in the starter is not very stable. I've read one article where the author high advised against using a week-old starter. So apparently it can take at least a week before things get in order.

Second, when you have a stable starter it needs to be fed in equal parts, therefore increases exponentially (basically doubling at each feeding). So unless you have a lot of empty swimming pools, you'll either use it in pancakes/muffins/whatever or chuck it. When it's first starting, the amounts people suggest varies...

So far my feedings have been all-purpose flour and whole wheat. I've been doing more research and some tutorials suggested 12 hour feedings and others have done 24 hour feedings. My guess is your schedule will depend on the weather. If you're in a warmer area, you'll most likely experience faster bacteria growth so a 12hr feeding is probably best. If it's more cold, you can probably get away with 24hr feeding.

Honestly guys, I have no clue what I'm doing and I'm just winging it.  It's been relatively cool (yeast likes warmer temperatures of 27-35˚C) so I'm going to wait 24hrs today and see if it changes anything.

Smells pleasantly sour. I must be
doing something right!... Right?
 So we'll see how much George grows and stabilizes.

Yes, I've named my starter George. He's my new bacterial tamagotchi pet that I will love, hug (through the container), feed and tuck in at night.

Good thing it isn't a real tamagotchi pet 'cause mine always died on me. Yeah...


Tuesday, June 9, 2015

Bread deep dive: the intro

Hello fork musketeers!

After I posted the bread basics, I was pretty unsatisfied with the quality of the post. Breads, in general, are pretty much the same: flour; water; salt; yeast and maybe some sugar. And yet it's all so, so different!

As I mentioned before, bread making is more of an art than blindly following the recipe. Breads are particularly sensitive to the weather, humidity and temperature will affect your bread. Rather than blindly following the amounts in your recipe, making bread is more about looking for a consistency and being aware of what you're doing and why.

That being said, the base of all breads is flour; water; salt; and yeast. Bread is ridiculously cheap to make but the process can seem rather off-putting, or confusing, to some. Aside from getting flour in places you never knew flour could get into, there's all the kneading and the proofing and the temperature and gosh darn sticky doughs and the kneading and tldr too complicated brb gonna buy my bread at Metro/IGA/Provigo. kthxbai.

Obviously if you prefer to buy your own bread, go ahead. Nobody's judgin' ya. Making your own bread, however, can be rewarding. Since the recipe is so simple, you can really tailor it to your personal tastes; case-in-point, the bagels I made. Once you understand the underlying principles of bread, the sky is the limit.

Over this mini-series, the tentative parts are:

  1. Basic anatomy of bread and bread making
  2. Fermentation/Proofing
  3. Fat vs. fat-free doughs
  4. Designs on breads

It should be informative and help make your breads better!

Monday, June 8, 2015

Recipe tips: Lady fingers

Hello fork musketeers!

Today I'll be covering some older content: lady fingers.


Homemade lady fingers are those fancy little biscuits that always gets a delighted, "Ooohhh!!" smile from your friend. Little do they know, they're pretty easy to make and you can make a pretty big batch under an hour. Crazy, I know. They don't have a very extensive list of ingredients and you will most likely have all the things at home. Crazy, I know!

What's in a lady finger?

Lady fingers, or biscuit à la cuillère, are essentially (separated) eggs; flour and sugar. Most people are probably more familiar with Italian-style lady fingers; the ones that you buy at the grocery store to make tiramisu. Fun fact: there are french-style ones!

The difference between the two is the overall texture. Italian lady fingers were designed for young toddlers in the middle of teething. The harder and drier texture relieves the pain and won't cause the toddlers to choke. French lady fingers, however, were not meant for toddlers. According to Chef, they were given to high class ladies who had an "afternoon tea" meal of champagne, strawberries and... lady fingers. Don't even try pretending you drink champagne because you have lady fingers. You're not fooling anybody.

That being said, you can totally make tiramisu with both. While Italian lady fingers are, conceptually, better since they'll absorb more spiked coffee, you can still use French lady fingers as well.

Lady finger tips

So I have some good news for you. The only electronic assistance you need is your mixer and your oven (gas assistant if you have a gas oven). Hurray! First separate your eggs. It's really important that there is NO egg yolks in your egg whites. Protein is meringue's death certificate. It'll be easier to avoid piercing the egg yolk if you tap the side of the egg on a flat surface, like your table, rather than the edge of a bowl.

Protip: It's way easier to separate eggs when the eggs are cold. You can either pass the egg yolk between the two shells or you can get messy and use your hand as a strainer. Alternatively, though maybe not the most sanitary option, you can use an empty water bottle and "suck" the egg yolk into the bottle and transfer into your bowl. 

First, beat your yolks and sugar together until it drips down your beater like this. This is called "thick ribbons". 


Set this aside in another mixing bowl and wash your mixing bowl very well. Don't worry if there's still a bit of water left in it; just make sure there's no more egg yolk/oil in it.

Protip: You may be thinking, "why can't I beat the egg whites first then the egg yolks? It'll save me some washing!" Raw meringue, however, doesn't do very well at room temperature. If you leave it out for too long it starts to separate and gets watery. It'll be ok if you can keep the meringue moving but you're looking at extending its life 20 minutes max. So, while more cumbersome, this way will prevent you from screwing up your meringue and leaving you with extra egg yolks. Which is annoying as hell, I know.

Gently beat your egg whites until it becomes foamy then you can add your sugar and continue beating. You're looking for stiff peaks; what this means is when you take your whisk out of the meringue it should hold a point or look like a bird's beak.

Chef said think of Big Bird
from Sesame street. Big bird's beak
isn't like this at all. Jussayin.

Now here comes a somewhat tricky part. What you need to do is incorporate the whipped egg yolks and the meringue together in the least amount of folds to preserve the air in your meringue.

How to fold meringue into your other ingredient(s)
Step 1: Use your spatula to take a third of your meringue and plop it into your wet ingredient. If you're incorporating flour, put some of your dry ingredients into the meringue.
Step 2: Gently scrape the side of your bowl with your spatula.


Step 3: ... and fold some batter over the top.


Step 4: Then gently smoosh your batter 2-4 times.

Finished scooping the batter over
the top...
... followed by a gentle smoosh.
Step 5: Rotate your bowl and repeat from Step 1 until the batter is well combined.

You want to make sure you don't have large pockets of meringue in your batter. This will give you some uneven rising in your finished product. When you're done, put the batter into a piping bag or screw modern convention and do the name justice by using a spoon. It depends on how rebellious you feel. I'm quite conventional so I used a piping bag.

Protip: If you have a tray that can fit your wire rack, you can put the wire rack into your tray. Top it off with parchment paper and you have a grid-guideline for your lady fingers. Just make sure to put something in the corners to prevent your paper from flying.

Lady finger guidelines
Once it's all piped out, you must, must, MUST put some icing sugar on top. Do one coat, wait 30-60s, then do a second coat. This is imperative to a crispy, texture top. Don't be shy now.

Notice how I was not shy with the sugar.
DO NOT BE SHY. Shyness won't get you
a nice crust.
Protip: If you don't have icing sugar readily available, you can use your food processor or your coffee grinder to grind regular sugar. Plus this way saves you some cash.

Now bake until it looks crispy, crusty and lovely. It's a really short bake time so don't go away. Mine took about 7 minutes on the dot.

My non-shyness paid off.

There you go. Lady fingers! They're spongey, chewy and have a really light flavour. Can you believe it's only eggs, sugar and flour?! Plus they take less than an hour to make. Now you're morally obligated to make these instead of buying them. No excuses now.

So far we've only been practicing the recipes we've done (we did pain au lait which is exactly like brioche. This isn't new content). Tomorrow we're supposed to be making apple sourdough. I'm pretty excited since I've never made sourdough before and I want to do some experiments with it. Ironically I don't really like sourdough, haha!

I hope you guys enjoyed this. Don't be shy and leave a comment down below!

Friday, June 5, 2015

Recipe tips: Bagels (the quest for the bagels of my childhood)

Hello fork musketeers!

Bagels! Omurgurdd!!

Bagels with Chef's instructions
Bagels with my knowledge of Montreal bagels.
Along with smoked meat, bagels are one of Montreal’s specialties. Montreal bagels are slightly sweet, dense and chewy and oh, so so tasty. When I was growing up, my father started his restaurant adventure in a building called Faubourg, located on St. Catherine and Guy. Just two stores down there was a small Mom and Pop Jewish bagel placed called The Bagel Shop. Every time my family wanted bagels, we would go to The Bagel Shop to satisfy our bagel craving. Unfortunately, they closed their doors about a year ago and I’ve miss those bagels ever since.

While I'm not claiming to be the bagel expert and I'm still a grasshopper in the art of breads, hopefully I can give you some tips on how to make your own bagels.

What's in a bagel?

There's something very special about bagels. Not only are they chewy and dense but they are a bit of an oddity in the bread world. Most breads tend to be fairly hydrated doughs - meaning the water to flour ratio is something like 700g:1000g, water and flour respectively, or 70% hydration. This is the ratio we used to make baguette and pain de campagne.

Bagels, however, tend to be around 50% hydration; some recipes are as low as 48% and as high as 55%. This is the only dough that's exceptionally dry and, if you're not careful, it can easily bust your electronic mixer due to its stiffness. As much as I like my modern-day conveniences, this is probably best done by hand unless you have a really powerful mixer on hand.

In addition to its low hydration level, it's also dipped or boiled in hot water - either sugar or lye I think - drained, garnished, then baked in a super hot oven. If you've seen the bagel places in Montreal, this is done in a wood oven. It gives a faint charcoal taste to the bagel. The dipping/boiling process helps make the bagel more dense.

That being said, bagels are dirt cheap to make. Their main ingredients are bread flour; sugar; maybe a dash of salt and yeast. From the recipes I've looked at, there's usually some malt powder/syrup which can be substituted with molasses and honey. Although, now that I think about it, I'd be curious if I could use gula melaka...

Supposedly the "unique" ingredients in Montreal bagels is the use of boiling syrup and eggs in the dough. I'll have to experiment.

Bagel tips

Mix in all your ingredients in the bowl. Your dough is going to look really shaggy and not pretty at all. Don't freak out though; just keep mixing until you have most of the flour incorporated. Then you can take it out the bowl and start kneading.

There are different ways of kneading; the way I do it is fold the front edge back onto the dough and press it in with the heel of my palm. Then turn the dough and repeat. You can totally look up some different methods for hand kneading to find the way you like the most.

This dough is really stiff. Since it's such a low hydration dough, it never really gets shiny like other doughs. Also, your folds will have a harder time getting incorporated into each other. I got so nervous when this first happened to me, I thought I had overkneaded the dough. After a few attempts, I think this is normal for this kind of dough. So don't fret and don't be afraid to be a little rough with your kneading. This particular dough is stiff and, in general, dough is tough.

That being said, as you knead, the surface of your dough should gradually get more and more smooth. You know you're done when the surface is smooth and the dough springs back when you give it a harsh poke. Remember, dough is tougher and springs back quicker than Chuck Norris or the most annoying character on any given TV show.

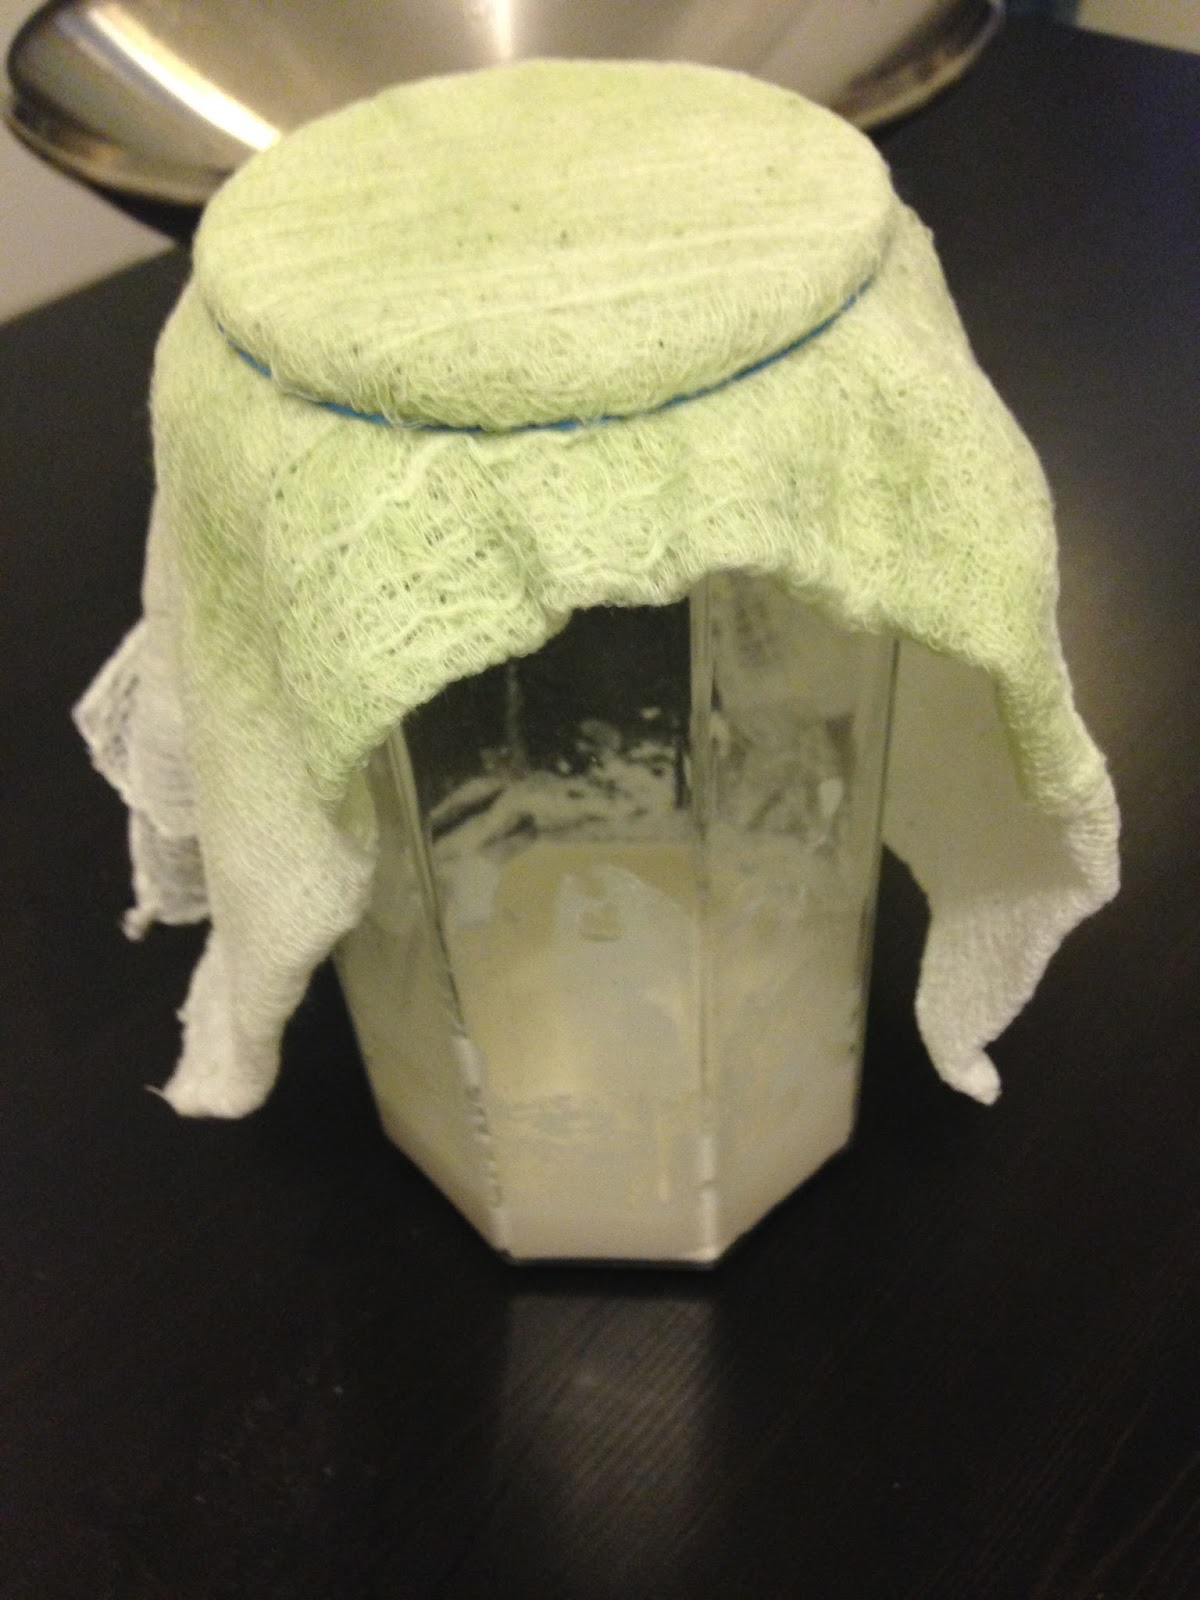
At this point you can decide on a few things. You can let it rise for a few hours, overnight or even 45 minutes. The longer and slower the rise, the more complex flavour you'll have at the end. The dough we made with Chef was left overnight in the fridge. On the other hand, the recipe I tried said to let it rest for 45 minutes. I ended up letting it rest for 2 hours and a half since I want some flavour. I wanted to let it rest for 3 hours but I got impatient.

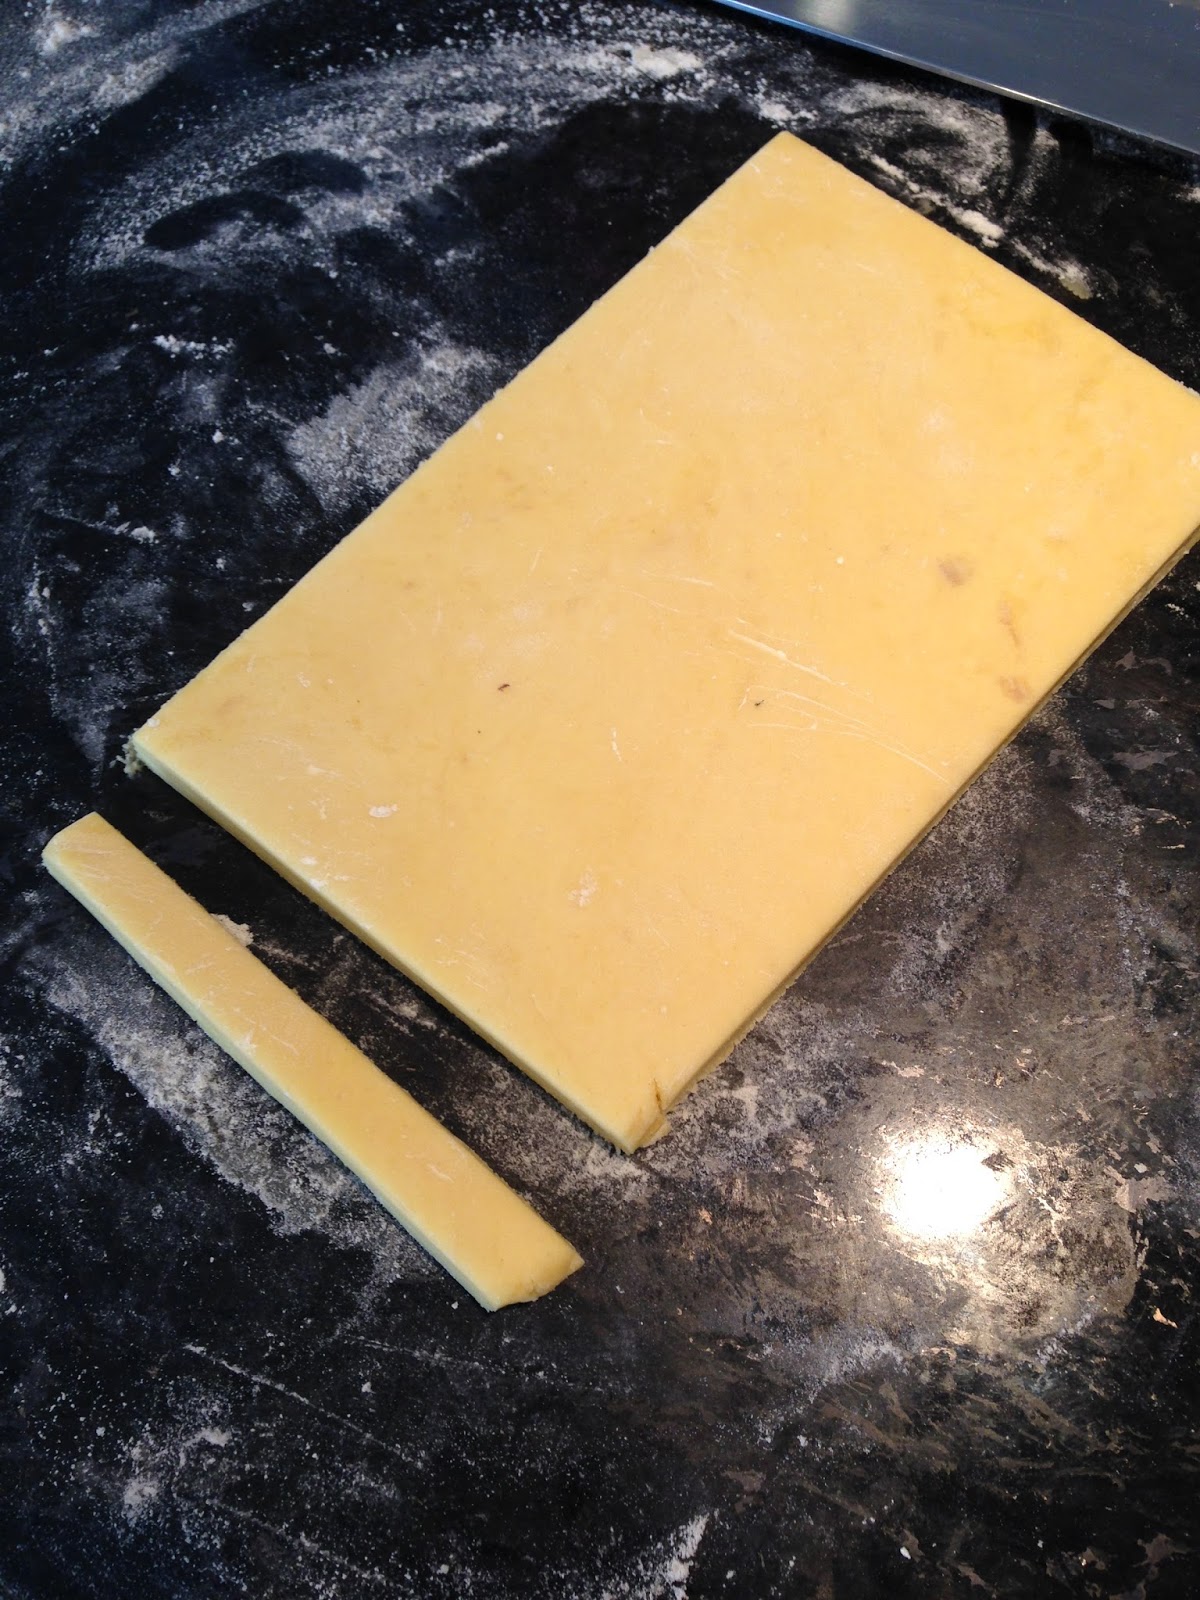
After resting, your dough should be much more soft since the flour has had a chance to absorb the water. At this point, knock the gas out and you can take a kitchen scale to evenly divide the entire dough. If you don't have a scale, you can roughly guess the size of each bagel. I prefer a scale since I suck at estimating. If you like numbers like I do, Chef advised 120g/125g per bagel.

Roll them into balls and let them rest for about 5-10 minutes. After that, shape your bagels by rolling it out into a long snake. Wrap it around your hand and seal the bagel by rolling the two ends together. Make sure you have a relatively large hole; you don't want your bagels to close up!

Join the two ends together
Roll roll roll

Depending on how tacky your dough is, you may have an easier or harder time doing this. The 2nd batch wasn't very tacky so I definitively had some difficulty there. You'll get it though!

The ends didn't quite join as well as
I wanted them to. Taking note of this.
Protip: If your bagel is looking a little uneven or you're having some difficulty rolling an even log, you can do the pull-and-tug method. After you join the ends, hold your bagel like a steering wheel and gently tug the dough to even your bagel out.

For Montreal bagels, I've read that it's done in a syrup or a sugary solution. I'm not entirely sure of the ratio, though with Chef we did a 15% sugar solution and added a bit of molasses. For boiling you'll want a wide pot so you don't have to do these one at a time.

For my very first attempt at bagels I used my kitchen wok.
When your water is nice and hot (perhaps boiling depending on what recipe you're following), toss in however many bagels you can fit into your pot. If you're keeping your water at a certain temperature - but not boiling - be careful about your water temperature. If your heat isn't strong enough and you add too many bagels your water will get too cold for sufficient bagel cooking.

Before you put your bagels in, you should have some things ready:
  1. A stopwatch at hand
  2. Your garnishes in bowls/plates.
  3. Either a wire rack to place your bagels...
  4. ... or a pan so you can pop them into the oven. Make sure to use a silicon mat or parchment paper so your bagels aren't glued to the pan.
When you put your bagels in the water, they may or may not sink. Whatever happens, your bagels should definitively float within 15 seconds. If they don't, it means they didn't proof long enough. When you toss your bagels in the water, start your timer so you know how long they've been boiling for. Generally speaking they should boil between 1-2 minutes. If they're really big, like 140g/150g, you may consider 2/3 minutes instead. Flip them at the halfway mark and leave them alone until it's time to pull them out.

Protip: If you're afraid your bagels are underproofed, take a smaller pot of cold water and test a bagel by tossing it in. If it floats, they're ready to boil; if it doesn't, dry it off and leave them alone for another 30 minutes.

Protip: To take them out you can either use a slotted spoon or the handle of a wood spoon. I took mine out with a spatula and an icing spatula since I had them out anyway.

As soon as you take your bagel out of the water, give it a quick shake and toss them in your garnishes. In Montreal the most popular garnishes are poppy seeds (my favourite) and sesame. Then put them on your wire rack/tray. Rinse and repeat until your rack/tray is full. While they may expand a bit in the oven, whatever shape they have after the boiling process is their final shape.


Depending on whether you did a dip method or a boiling method will determine the oven temperature. The dip method doesn't cook the bagels so you'll have to set your oven at a lower temperature (try 375˚F). If you boiled them, they're cooked so the oven is going to give them colour. That means you can set your oven at a higher temperature; I set the oven to 450˚F for my 2nd batch. When the tray is full, pop them in the oven and watch them brown.

Protip: Your bagels might expand a little if you boiled them or a lot if you dipped them. Give them some breathing room and don't crowd them!

The 1st set took about 15-20 minutes to cook through. The second took 5-10 minutes to brown. When they look delicious, take them out and let them cool on a wire rack.

Final thoughts

Let's take a look at my bagel attempts.

First attempt ever
My very first attempt was on my own before I decided to go to pastry school. Long story short, it was a major dud. While they came out fantastic looking, they were more like dinner rolls than bagels. I was pretty disappointed.


Bagels with chef
My second attempt was with Chef. I liked how the dough was more tacky and it was easier to join the ends together. The texture was nice and it was a good bagel, however it didn't taste anything like my childhood bagels. I was left pretty unsatisfied and more determined than ever to replicate them.

Today's attempt
Today's attempt was the most successful thus far. I remembered how my family said that the baker used honey in his recipe, so I brought my bread flour and a jar of honey to school to experiment. I found a recipe online that was based on the St. Viateur bagels and I tweaked the recipe in a few ways. I put a bit of honey in the bagels; let them rise for 2.5 hours, boiled them in a honey solution and baked it at 450˚F.

While it's impossible to replicate the hint of charcoal without a barbecue or a wood oven, this is probably the closest I'll get. I got my family to try and they all agreed this was very close, if not spot on, to the bagels we bought. My mom even joked that I could make a big batch to freeze and my parents could bring it with them on holiday so they could get their bagel fix.

This poor bagel got detached... which
meant it was the first to die be eaten.
Did I replicate my childhood bagels? Not quite, but I think it's 95% there and I know what's the missing component. Am I pleased with the overall result? You bet I am.

All I can say is you won't see me buying bagels again.

Recipe tips: Brioche

Hello fork musketeers!

You may remember that I made croissants and brioche a couple of days ago.


I didn't want the post to be too long, so I decided to split it. Without further ado, here are some tips on how to make your brioche delicious.

Brioche tips

Brioche is an enriched bread (i.e. viennoiserie) that uses whole eggs, milk and butter. It has an unbelievably soft texture and a really great bread to have for breakfast. I personally find this bread a little too rich for my taste, someone who likes very rich breads might like brioche.

So mix your dough until all your ingredients, except the butter, is incorporated.

All initial ingredients have just been incorporated.

The last ingredient!
Don't mind the weird shadow.
If you're doing this by hand, I'm going to warn you: this dough requires a lot of kneading. Like a lot. We used the mixer and, set to a modest 3 or 4, this took about 10-20 minutes of straight kneading to finish. This dough is also incredibly sticky, so if you hate handling wet doughs this may make you really frustrated and hate this bread.

Protip: I've heard of a technique to handle wet doughs. It's called the "stretch and fold" method. Here's a handy link to see it in action. I haven't tried it myself, but I've heard very good results with this. However, I'm not sure if it'll work for brioche specifically since S&F is a hands-off method to develop gluten. Try it out on your next frustratingly wet and sticky dough and see what happens.

Whether you're doing this by hand or with a mixer, you have to keep kneading the dough until the dough has a more tacky texture to it. If you're using a mixer, make sure to scrape down the sides to ensure a consistent texture throughout the bread. You know when it's done when it doesn't stick to the sides anymore. Now scoop your dough out and pop it in the fridge to rest.


When you take it out of the fridge, it's going to feel hard. Don't be alarmed; this is because of the butter in it. Just scoop it out and gently knead until it's more pliable. Don't get it too warm since you want to keep the butter cold.

So now it depends on how you like to present your brioche. In class we did it in three different formats: mini brioche à tête; a tall cylinder and a loaf.

Format #1: Brioche à tête
So these are supposed to look like this.

Photo not mine. Thank you google.
Mine obviously does not look like that.

Yes, I totally nibbled on the bottom one.

So what's the deal man? It involves a bit of dexterity and I could write a bunch of steps...

Buuuuuttt instead here's a video I took of Chef doing it.


So my mistake here was the head wasn't large enough. Mine were small so as the bread expanded it, more or less, absorbed my pathetically very small brioche head. Hence why they look more like mounds than small heads.

I found the trickiest part is pushing the dough against the sides to give the brioche head some room. However, if you're never rolled dough into balls, you might find that step a bit tricky.

There are a few components to this motion.
  1. You need to keep the base of your palm on the table at all times. I know it's more common to place your palm on top of the malleable thing and roll. However, in this case you get a rounder shape; you take advantage of the dough's properties to help you and you don't use both hands. So if you get super pro at this you can roll two balls of dough at the same time. Sweet!
  2. Keep your hand curled as if you were holding a cup. Depending on the size of your hand and your dough ball, your palm should be the part that's really dragging the dough. There's no finger action here.
  3. You need a lightly floured surface. If you have too much flour, the dough will just glide everywhere. If you have too little flour, your dough sticks to everything.
  4. Now move your dough in a small, circular motion. It should roll up into a ball nicely. Don't worry if it has a teeny tiny tail. Just place the tail on the bottom and nobody will be the wiser. I promise.

This is a basic technique to roll small pieces of dough so it'll be useful to learn for your bread adventures. The other thing I need to do is to not dig my finger into the brioche head. I think this contributed to its pathetic small size. You need to gently tilt the head out of the way and scoop the dough from the bottom and press it to the sides. This creates more room for the brioche head to sit in.

For the cylinders you just need to coat it with a bit of oil or fat. Roll a ball and then plop it in. Boom, you're done. So hard and challenging; I know.


Format #3: Brioche loaf
Given the various forms of bread, my personal favourite is a loaf. I like having the choice of how thick I want my slice of bread to be. Thinner slices for sandwiches; thicker slices for fried eggs. Yum!

Anyway, if you google brioche loaves they tend to have some kind of poofy pattern on top. You can totally just roll it up, place it into a pan and call it a day. If you want some interesting patterns, keep reading.

For the loaf we made, we cut our dough into eight six somewhat equal pieces. Roll these out into a log that fits your pan. You want to be a bit strategic with them; put the smaller pieces on the outside and the bigger ones on the inside. It'll help give your loaf a nicer shape. Depending on the side of your pan, you can also just roll them into balls and put them next to each other. Really, it's up to you.

Protip: Make sure to keep the seam of your log/ball on the bottom of the pan. If you put your dough seam side-up your bread is going to expand and explode in all sorts of ways. You'll end up with a really cool textured look but it's probably not what you're going for.

Whatever format you choose to do, do an egg wash and let them proof until doubled in size. Or you can use my HolyShit Plush Gauge™; it's totally scientifically proven. Then, just before you put it in the oven, another coat of egg wash.

Protip: So remember how egg wash acts like glue? If you're making a loaf, make sure you don't get egg wash down the sides. It'll prevent your bread from rising. Then you and I will be super sad.

If you're having a hard time to tell its doneness, I used a knife down the middle of the product. Don't poke it too much, otherwise your goods will look a little weird with all those holes. Anyway, the knife should could out clean; just remember to wipe it if it has wet dough on it.

Then tadaaaa you're done. Enjoy your brioche in whatever form you made them!

If you have any feedback and/or comments, don't be shy and leave a comment down below. :)