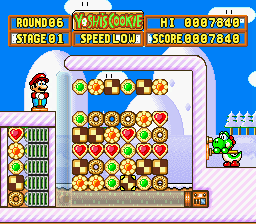
Today we'll be looking at damier. Or, if you played some SNES games, that square-pattern cookie from Yoshi's Cookie.
 |
| Apparently it has a name and now I know it. Sweet. |

This actually a really simple recipe to make. All you need is some flour, a knife, maybe a ruler and a bit of technique.
Damier tips
So doing this cookie in the middle of bread month is slightly unusual. There's no yeast in it; instead it uses baking powder as a leavener. It's also made with the creaming method (cream butter and sugar together; add eggs; then flour) so it's more like a cake/biscuit. Given the copious amounts of bread we've been making, this was a nice change.
We made this using a "plain" batter and a chocolate batter. The chocolate batter we made was quite thick and a bit tough but you want this to be more on the "tougher" side. This is for shaping.
To shape
Shaping damier is pretty simple. The trick is your dough needs to be cold so it holds its shape.
On a floured surface roll out your plain dough first. Decide how thick you want them to be and whether you want a square or a rectangle shape. I find the square-shaped damiers better looking, so make sure to cut enough pieces for a 2x2, 3x3 or 4x4 cookie.
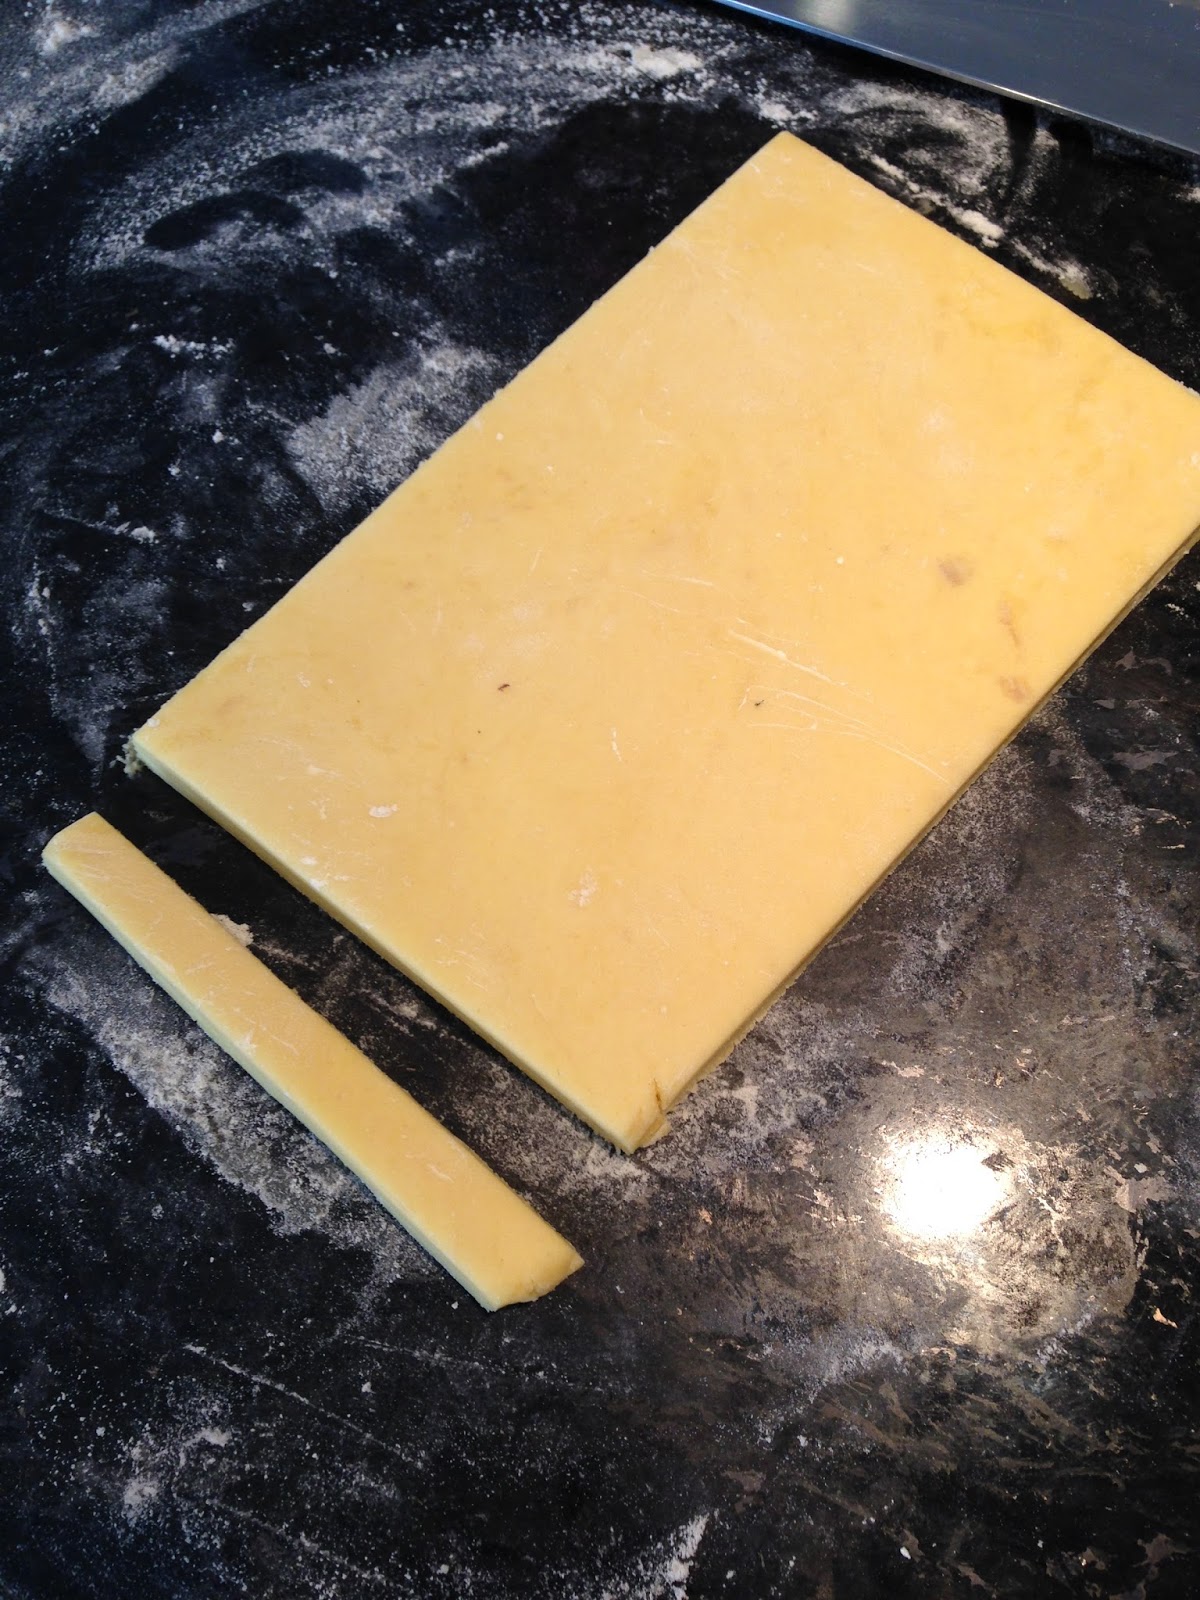
Protip: If you used baking powder in your dough, super square pieces will puff up and your shape won't look as nice before going into the oven. Keep it a little rectangular. It's more important to choose a size and stick with it! If you omitted the baking powder you can make everything square
As you cut out these pieces, make sure they're as straight as possible before going into the fridge. They will hold its shape and you'll have a harder time putting them together if they're all wavy curly like. If you have a straight edge handy you can use it to straighten your pieces. When they're all cut, pop them into the fridge and wait for them to firm up.

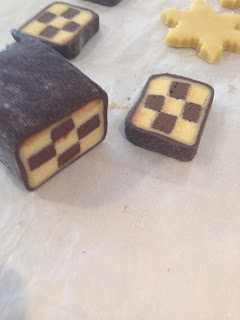
Now for the fun part. Assembling them together! If you have some kids around, this would probably be the fun part to get them involved. I like to "pre-assemble" the cookie first to make sure I get the best fitting slices before committing. When you are ready to glue them together, wet your fingers and gently press them together. When you're done, put them back in the fridge.


You can just skip this step if you don't want to do it but I think they look nice with the chocolate/plain layers. If you choose to the outside layers, you'll need some leftover plain and chocolate dough. Just roll them out thinly and place your firm cookie log on top. Double check to make sure the dough is rolled out enough to wrap around your cookie log. Then commit by glueing your log onto your dough and cut off the excess. Gently wrap'n'roll, glueing the sides as you go and, when you get to the end, cut the extra dough off and... you guessed it, back into the fridge. Rinse and repeat for the second layer if you want.
When your cookies are firm, now's the time to cut. Cut them between 4-5mm and pop them in a 320˚F oven. They'll start to brown on the edges, so make sure to check and rotate them if you have to.
The reason why you want to cut them about 4-5mm is to prevent them from puffing too much. When the cookies are on the thinner side, the majority of the cookie is being directly cooked by the oven. This prevents the cookie from puffing too much. I only learned this after I baked them.
Protip: If you're having some trouble getting a flat cookie, let your cookies bake until there's a crust. Then put a layer of parchment paper and another tray on top to keep the surface flat.
Then tadaaaa! Cute little cookies!

I personally prefer the first layer to be the same colour as the "plus" squares. Otherwise the outer layer doesn't set a strong contrast from the squares.
How do you like to shape these cookies? Let me know in the comments below!
As you cut out these pieces, make sure they're as straight as possible before going into the fridge. They will hold its shape and you'll have a harder time putting them together if they're all wavy curly like. If you have a straight edge handy you can use it to straighten your pieces. When they're all cut, pop them into the fridge and wait for them to firm up.

Now for the fun part. Assembling them together! If you have some kids around, this would probably be the fun part to get them involved. I like to "pre-assemble" the cookie first to make sure I get the best fitting slices before committing. When you are ready to glue them together, wet your fingers and gently press them together. When you're done, put them back in the fridge.

 |
| Pre-assembly so I know which pieces fit best with which. |

You can just skip this step if you don't want to do it but I think they look nice with the chocolate/plain layers. If you choose to the outside layers, you'll need some leftover plain and chocolate dough. Just roll them out thinly and place your firm cookie log on top. Double check to make sure the dough is rolled out enough to wrap around your cookie log. Then commit by glueing your log onto your dough and cut off the excess. Gently wrap'n'roll, glueing the sides as you go and, when you get to the end, cut the extra dough off and... you guessed it, back into the fridge. Rinse and repeat for the second layer if you want.
 |
| Wet the next side and wrap! |
 |
| Trim the last side so it all fits together. |

The reason why you want to cut them about 4-5mm is to prevent them from puffing too much. When the cookies are on the thinner side, the majority of the cookie is being directly cooked by the oven. This prevents the cookie from puffing too much. I only learned this after I baked them.
Protip: If you're having some trouble getting a flat cookie, let your cookies bake until there's a crust. Then put a layer of parchment paper and another tray on top to keep the surface flat.
Then tadaaaa! Cute little cookies!

I personally prefer the first layer to be the same colour as the "plus" squares. Otherwise the outer layer doesn't set a strong contrast from the squares.
How do you like to shape these cookies? Let me know in the comments below!
No comments:
Post a Comment